

How To Make Geometric Art
Geometry is all around us. Our world is created from shape. Designers manipulate shapes in order to create pieces of art that utilized for posters, invitations, social media graphics, or pieces for home decor! The process of creating a geometric object is to combine various shapes and maneuver them until they take the form of your desired object. This technique hangs in the cross-section of realism and abstract art.
With BeFunky's Designer , you can choose from hundreds of vector graphics in the Design Elements tab and easily customize them to create one beautiful geometric shape! By layering multiple shapes and adjusting the sizes and color, you can transform them into a work of art in minutes. We'll show you how!
Geometric Art Inspiration
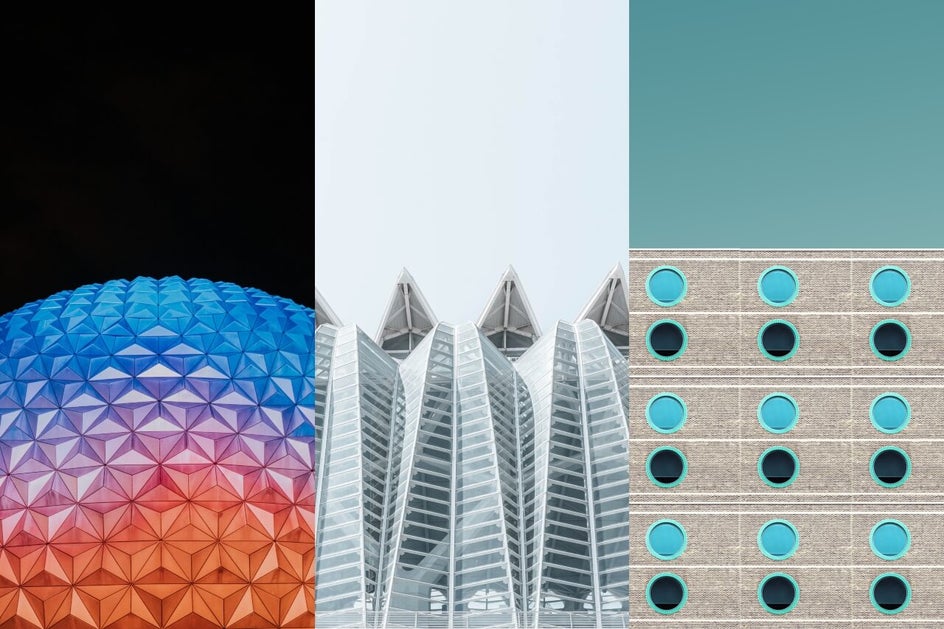
Before you get started, we want to show you a few things you can do with BeFunky's Design Elements to create different types of geometric art. From multi-dimensional objects to abstract art, there are so many ways to use Design Elements to get the look you want. Here's some inspiration for you:
Multi-Dimensional Geometric Shapes
Creating a single, multi-dimensional shape out of layered Design Elements is one of the most fun ways to use shapes. This technique uses triangles, color, and opacity to create any object you want!
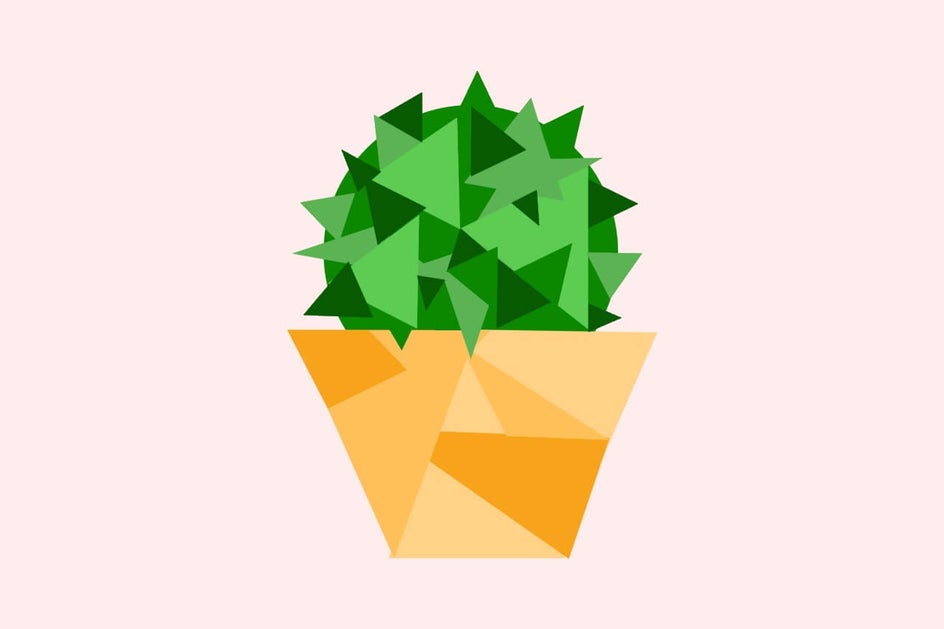
Simply layer the shapes over one another in order to create your object. The key is to keep your artwork looking similar to the object, without following the look too closely.
Geometric Pop Art
Oftentimes, creating your own graphics means thinking outside the box. In this case, we've amped up a heart graphic to include multiple lines, giving it a shaded geometric look. Then, we duplicated our custom graphic and played around with colors to give it a pop art look!
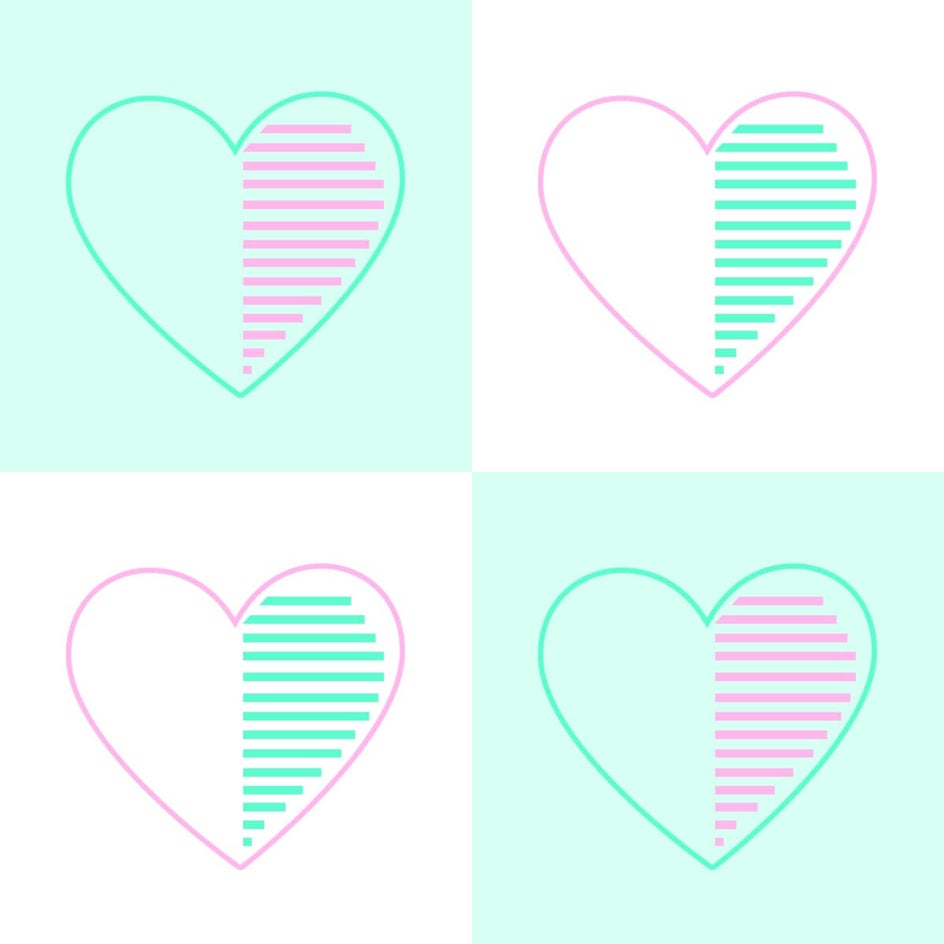
By utilizing hearts, squares, and color, you too can create your own customized vector graphics, or turn it into pop art with some duplicating and color adjusting.
Abstract Geometric Art
Abstract pieces allow you to have complete freedom. Without the need to follow any rules or create something that people need to be able to recognize, you have full control over what you design here. This is a great way to add in some fun pieces of art to your bedroom.

Whichever artistic route you take with the Design Elements in BeFunky's Designer, the customizability will help you get the look you're going for! All it takes is some imagination and a few tips to help you manipulate those shapes into your creative vision.
How To Make Geometric Art
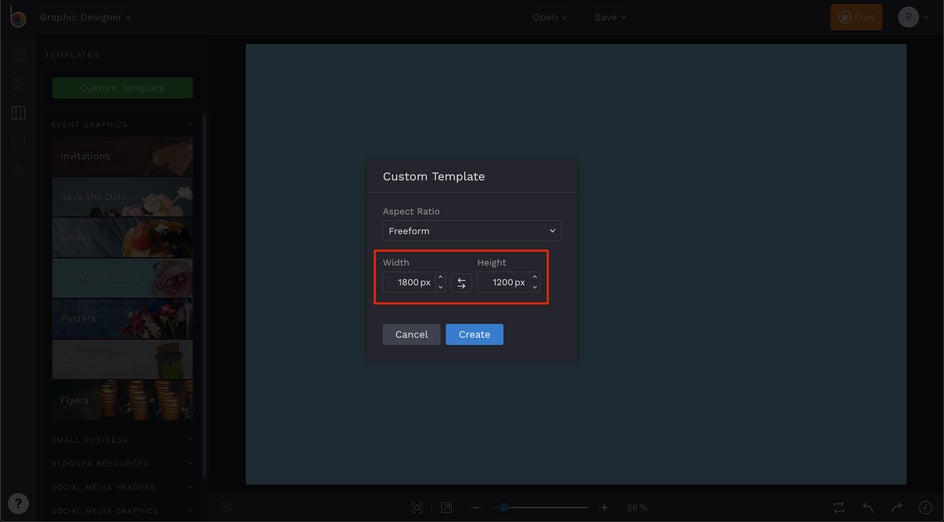
When you're ready to get started, head to BeFunky's Designer and create a custom design template by selecting the Custom Template button at the top of the Templates tab. Type in the dimensions you want for your canvas into the Width and Height boxes, then press the Create button. You'll now have a blank design template that's perfectly sized to your liking!
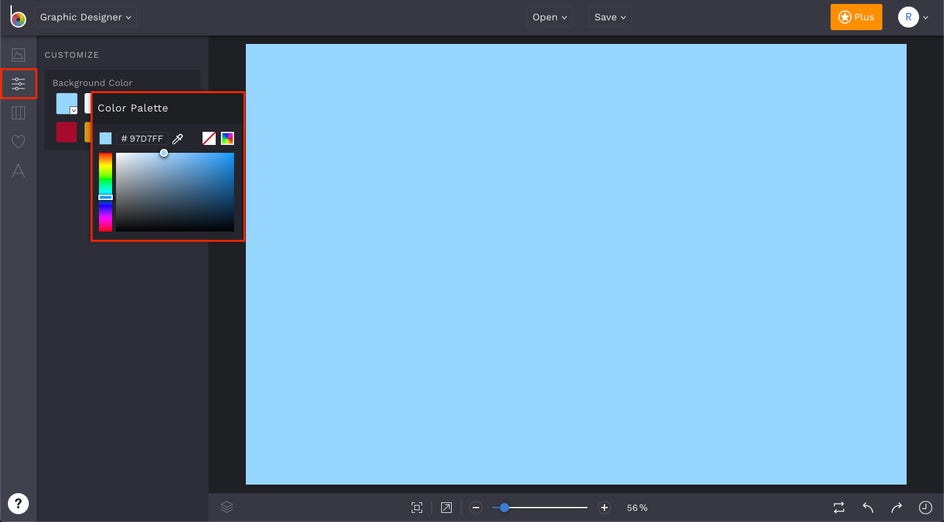
To choose a background color for your custom template, click on the Customize tab (the mixing board icon) in the left-hand menu and choose from the pre-selected color tiles or choose a custom color by clicking on the first color tile. A Color Palette menu will appear and you can drag the rainbow slider and circle around it to choose your own custom hue.
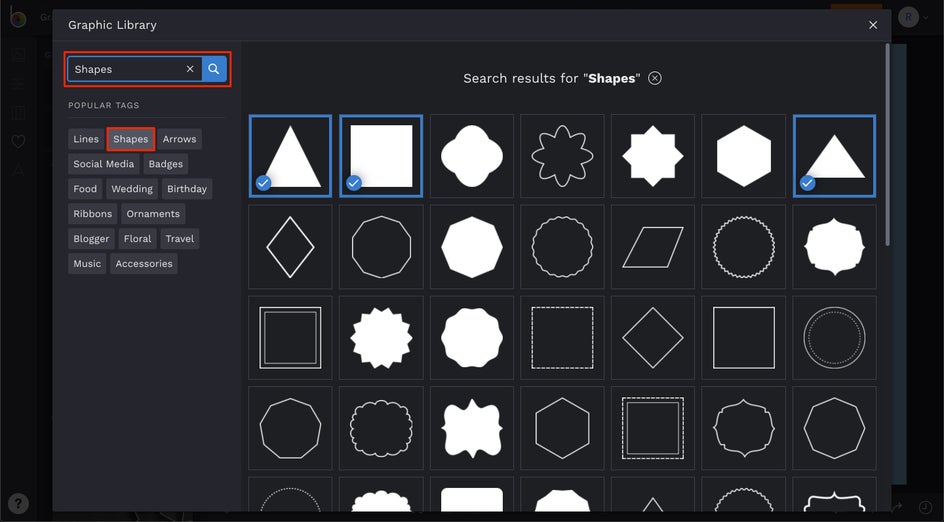
Next, it's time to select some Design Elements to create your geometric art! Click on the Design Elements tab in the left-hand menu (the heart icon) and select the Search Graphics button. You will find hundreds of graphics here that you can choose from. Simply type a search term into the search bar or choose from the Popular Tags to find all the geometric shapes you could need, then click on any you want to use in your project.
After closing out of the Graphics Library, you'll find all of the Design Elements you've selected in the Your Graphics category of the Design Elements tab. Simply double-click the thumbnails or drag-and-drop them onto your canvas to begin designing with them.
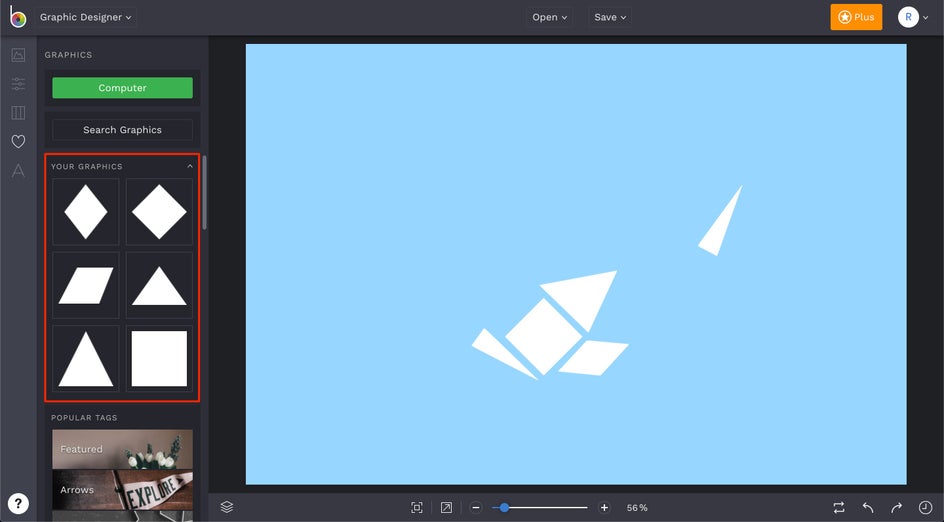
Now for the fun part: building your object. The goal here is to create the overall object with the Design Elements and adjust the colors to help bring recognition to what your object is. Place the shapes over one another, next to one another, or overlap them in order to bring your object to life. You can use the blue circles around each Design Element to resize and rotate them, and drag them around with your mouse to position them. The more you add shapes to your object, the more it will come together.
This is a big tip: hold down the Shift key while dragging the blue circles around your shape in order to flatten it or warp the shape. This is a helpful tip and one that was heavily utilized in this tutorial! Almost every shape that was used was scaled this way.
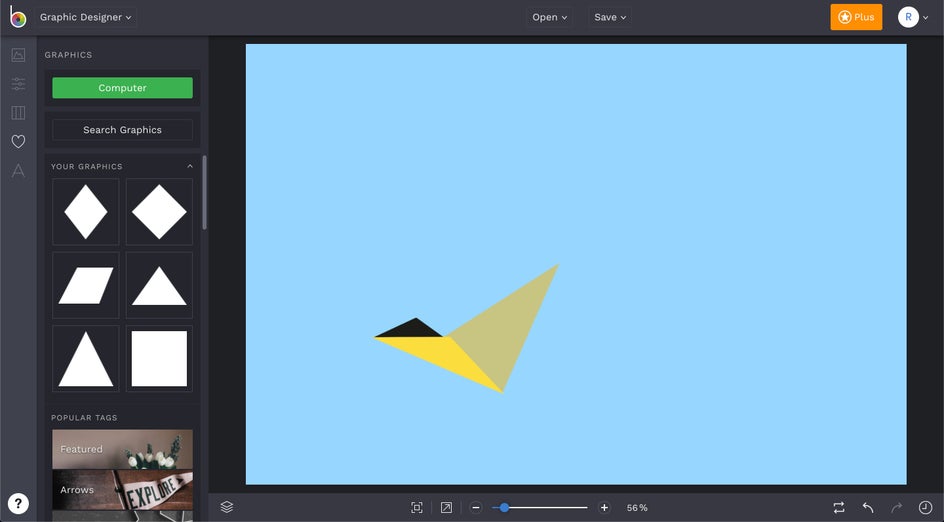
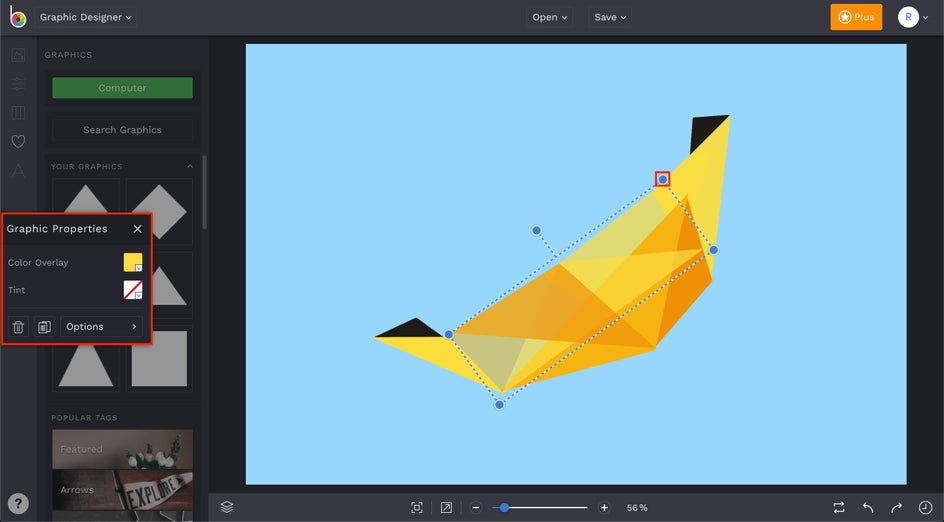
Any time a Design Element is selected, you'll notice a Graphic Properties toolbar appears to help you adjust the color, opacity, blend mode, and more! Clicking the tile next to Color Overlay will allow you to select a color for your shape. An easy way to add a new shape with the same color and customized options is to press the D button on your keyboard. That will quickly duplicate your shape so that you can keep building your object, customizing each individual graphic as you go.
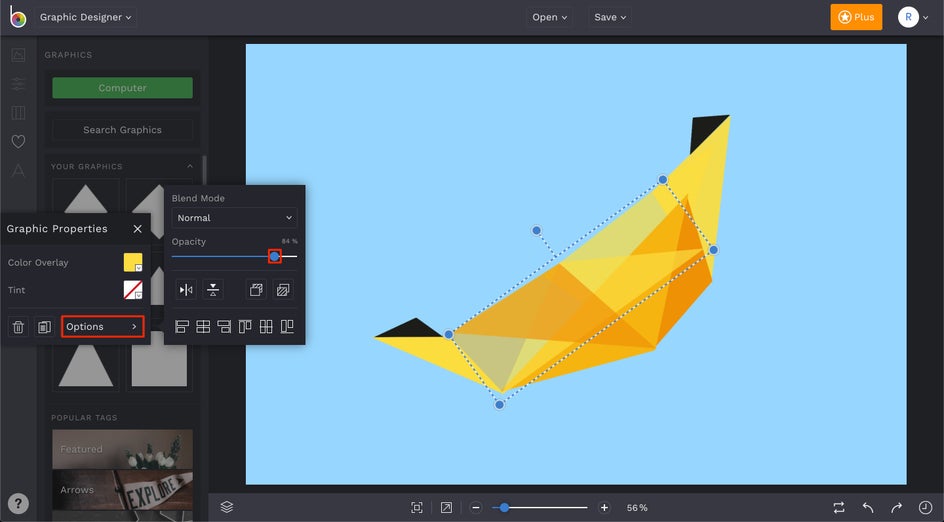
Adjusting the Opacity on each shape will give your artwork some depth and dimension. In order to do this, when the shape is selected, click the Options button in the Graphic Properties menu. You will see an Opacity slider there, and you can use it to adjust the transparency of each shape.
Once you feel that your object is recognizable, save your artwork to your computer by heading up to the top menu and selecting the Save button. You'll be able to save your geometric art to your chosen destination on your Computer, or share it straight to social media.
Final Results
With a little creativity and thinking outside the box, you can create geometric art with Design Elements in minutes! Just look at how cool this geometric banana turned out:

Now there is no reason to spend a hefty amount of money creating art for your home, nursery, or office. By experimenting with colors, shapes, and objects, you can create some fun geometric pieces that no one else will have! Click the link below to start creating:
Graphic Design, Simplified.
How To Make Geometric Art
Source: https://www.befunky.com/learn/geometric-art/
Posted by: choexpeithe.blogspot.com
0 Response to "How To Make Geometric Art"
Post a Comment